
 (210) 653-8928
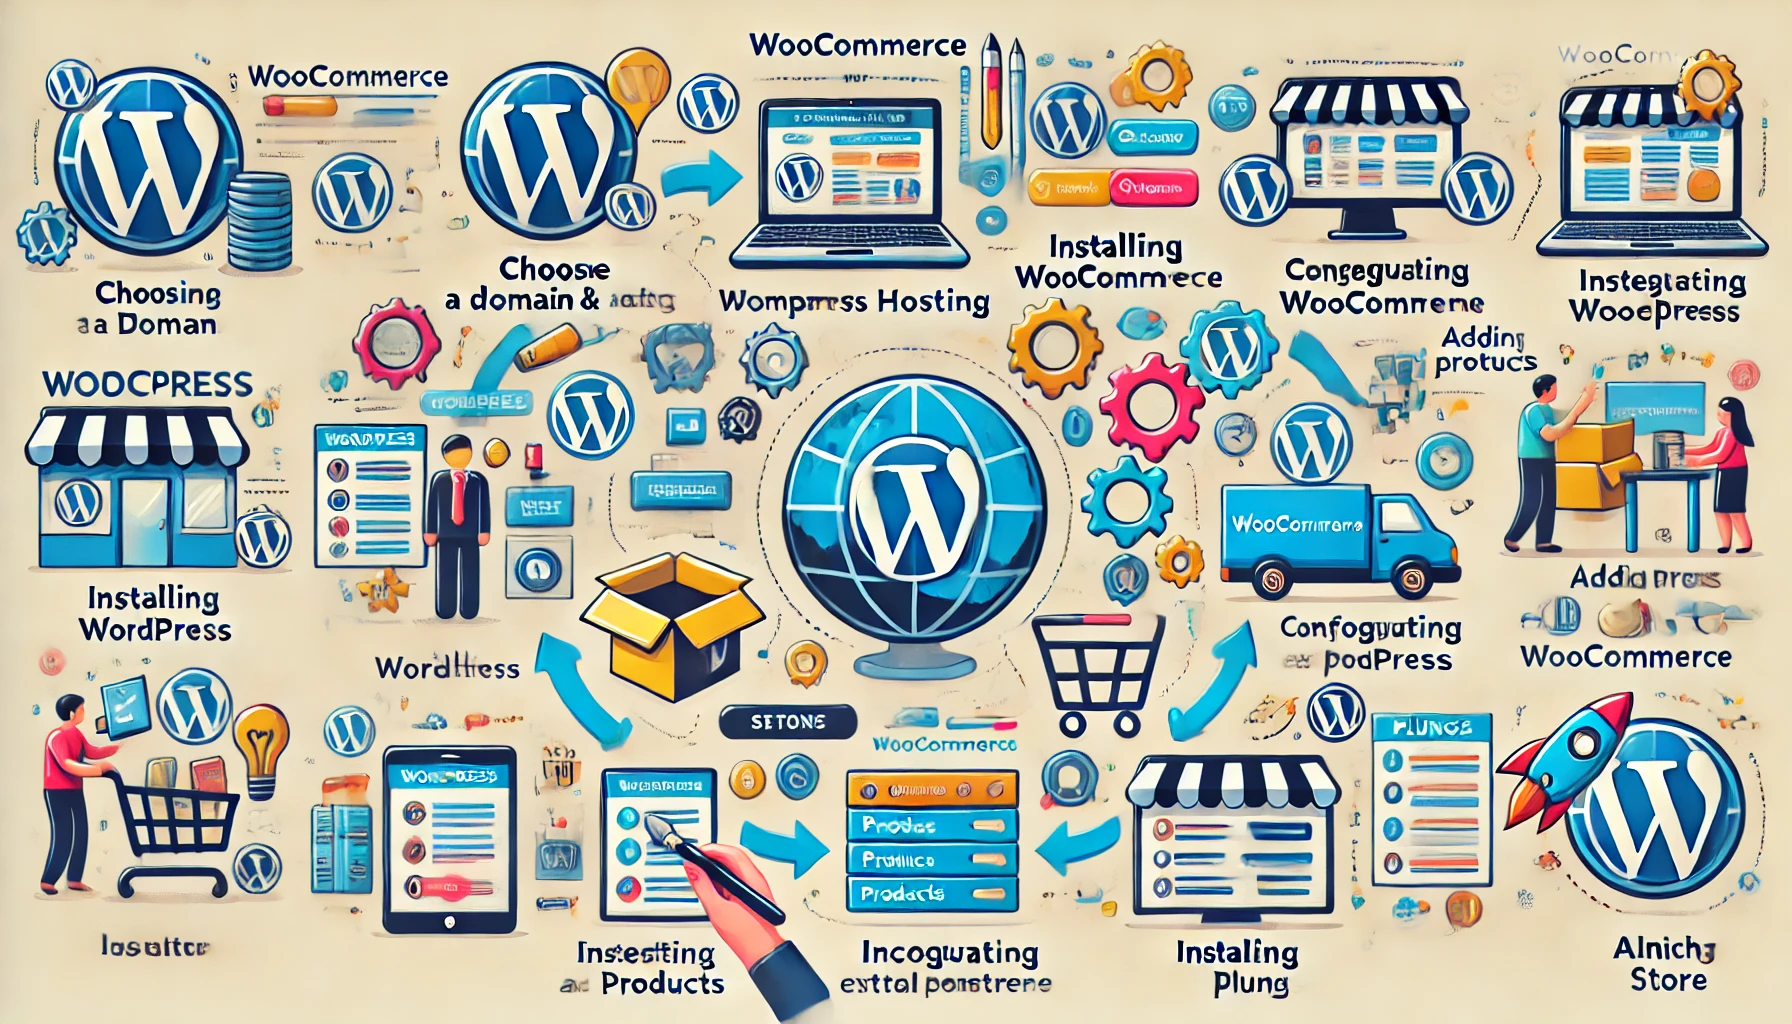
Creating a WooCommerce website is a fantastic way to start selling products online. WooCommerce, a powerful and flexible eCommerce plugin for WordPress, allows you to turn your website into a fully functioning online store. Here’s a step-by-step guide to help you get started.
Step 1: Choose a Domain and Hosting
The first step in creating any website is securing a domain name and hosting. Your domain name is your website’s address on the internet, while hosting is where your website’s files are stored.
- Choose a Domain Name: Select a domain name that reflects your brand and is easy to remember.
- Purchase Hosting: Opt for a reliable hosting provider. Many providers offer specialized WordPress hosting that’s optimized for WooCommerce, such as Bluehost, SiteGround, or WP Engine.
Step 2: Install WordPress
Once you have your domain and hosting, you need to install WordPress. Most hosting providers offer one-click WordPress installations.
- Access Your Hosting Account: Log in to your hosting account and find the WordPress installation option.
- Install WordPress: Follow the prompts to install WordPress on your domain.
Step 3: Install and Configure WooCommerce
Now that WordPress is installed, you can add the WooCommerce plugin.
- Install WooCommerce:
- Log in to your WordPress dashboard.
- Go to Plugins > Add New.
- Search for “WooCommerce” and click Install Now.
- Once installed, click Activate.
- Set Up WooCommerce:
- Follow the WooCommerce setup wizard. This will guide you through configuring essential settings such as store location, currency, and payment methods.
- Choose how you want to accept payments (e.g., PayPal, Stripe) and configure shipping options.
Step 4: Select and Customize a Theme
Your website’s theme determines its design and layout. Choose a WooCommerce-compatible theme that suits your brand.
- Choose a Theme:
- Go to Appearance > Themes > Add New.
- Search for “WooCommerce” to find compatible themes. Popular options include Storefront (free) and premium themes from sites like ThemeForest.
- Customize Your Theme:
- Go to Appearance > Customize to adjust your theme’s settings.
- Customize colors, fonts, and layout to match your brand identity.
Step 5: Add Products
With WooCommerce and your theme set up, it’s time to add products to your store.
- Add a Product:
- Go to Products > Add New.
- Enter your product’s name, description, price, and other details.
- Set a featured image and add product images to showcase your items.
- Organize Products:
- Use categories and tags to organize your products, making it easier for customers to find what they’re looking for.
Step 6: Configure Additional Settings
Ensure your store runs smoothly by configuring additional WooCommerce settings.
- Shipping:
- Go to WooCommerce > Settings > Shipping to set up shipping zones and methods.
- Taxes:
- Go to WooCommerce > Settings > Tax to configure tax settings based on your location and legal requirements.
- Checkout:
- Go to WooCommerce > Settings > Checkout to customize your checkout process and configure payment gateways.
Step 7: Install Essential Plugins
Enhance your store’s functionality with essential plugins.
- SEO: Install an SEO plugin like Yoast SEO to optimize your site for search engines.
- Security: Use a security plugin like Wordfence to protect your site from threats.
- Backup: Install a backup plugin like UpdraftPlus to regularly back up your site.
Step 8: Test and Launch Your Store
Before launching, thoroughly test your website to ensure everything works correctly.
- Test Functionality: Check all links, forms, and functionalities.
- Place Test Orders: Perform test transactions to ensure the checkout process works smoothly.
Once you’re confident everything is in place, it’s time to launch your WooCommerce store!
Conclusion
Creating a WooCommerce website involves several steps, but with this guide, you can set up a professional and functional online store. Remember to regularly update your site, keep your plugins and themes current, and monitor your store’s performance to ensure ongoing success. Happy selling!

Dawei is a strategist and entrepreneur that trains business leaders and startup founders how to efficiently and effectively use their software teams. Dawei’s passion projects include creating country songs and performing live music at pubs in Nashville.


Leave a Reply